Spring Boot Web Application Deployment on Heroku (PaaS)
This post guides you through the steps needed to deploy a simple web application, packaged as a JAR file and developed using the Java Spring Boot framework, on Heroku using the Heroku Git deployment method.
Software Requirements
Sample Project
For this tutorial, we'll use the Spring Boot Minimal Web App as our sample Spring Boot web application to deploy on the Heroku platform.
Navigate to http://localhost:8080/ to discover the application URLs.
Noticed an issue with this Sample Project? Open an issue or a PR on GitHub!
Prerequisites
Ensure that your project repository (source code files) is tracked through Git, the code is committed, and is ready for deployment.
Heroku Deployment steps
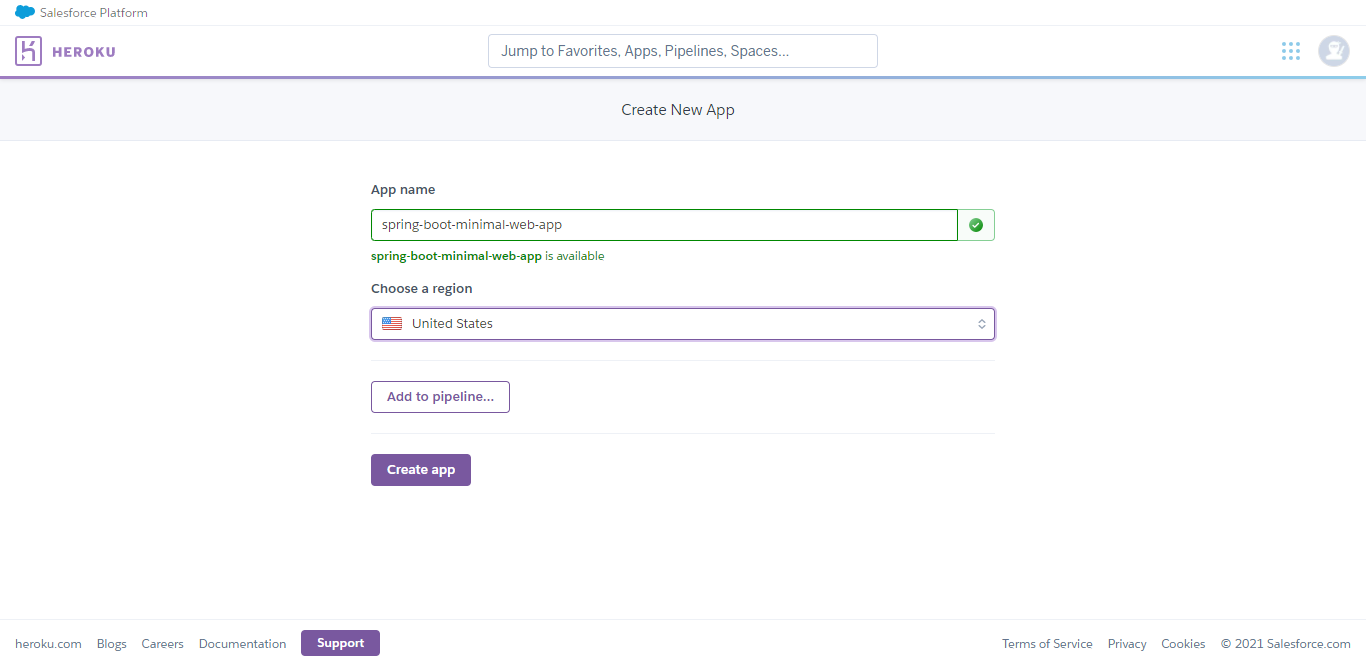
- Create a New Heroku Web App
- Log in to the Heroku Web Portal.
- Create a new web app.
- Name your web app and choose a region (United States/Europe).
-
Set Up Your Local Project
- Open your terminal or command line tool.
- Navigate to the directory of your Spring Boot project.
-
Login to Heroku via Command Line
- You can log in to Heroku in two ways:
- Method 1:
heroku login- You'll be prompted to press any key to open your web browser to complete the login process.
- The CLI will then log you in automatically.
- Method 2:
heroku login -i- This method allows you to enter your credentials directly in the command line.
- Method 1:
- You can log in to Heroku in two ways:

- Add Heroku's Remote Repository to Your Project
- Use the following command structure to add Heroku's remote repository:
heroku git:remote -a [APP_NAME] - For our sample project, the command would be:
heroku git:remote -a spring-boot-minimal-web-app
- Use the following command structure to add Heroku's remote repository:

- You can verify the remote URL added to the project using:
git remote -v

- Deploy Your Application to Heroku
- Push your project to Heroku's remote repository using:
git push heroku main
- Push your project to Heroku's remote repository using:
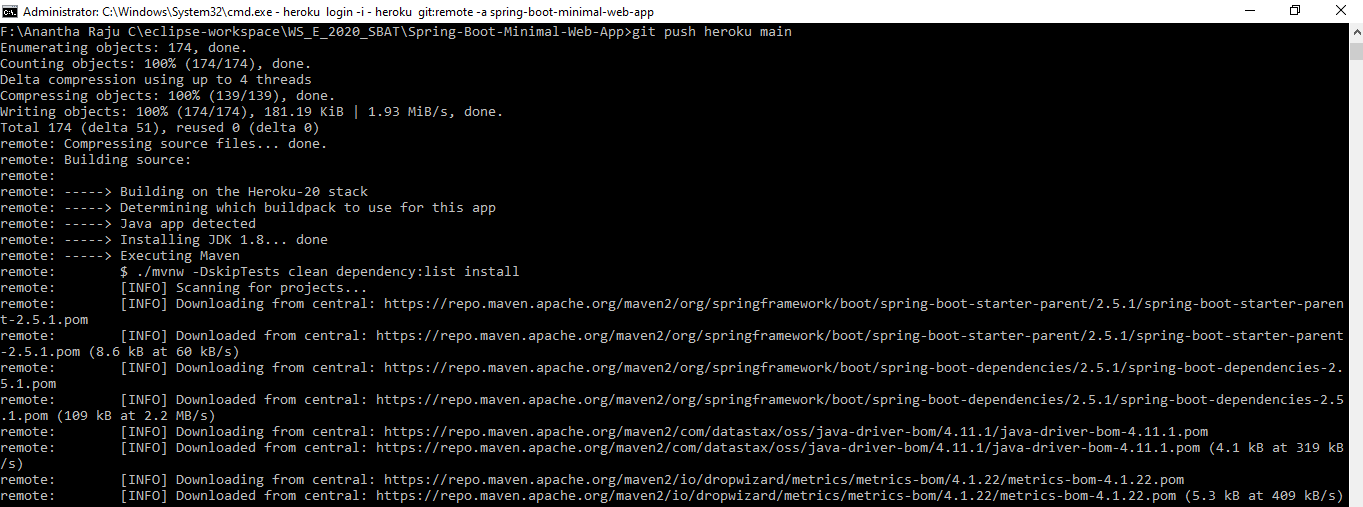
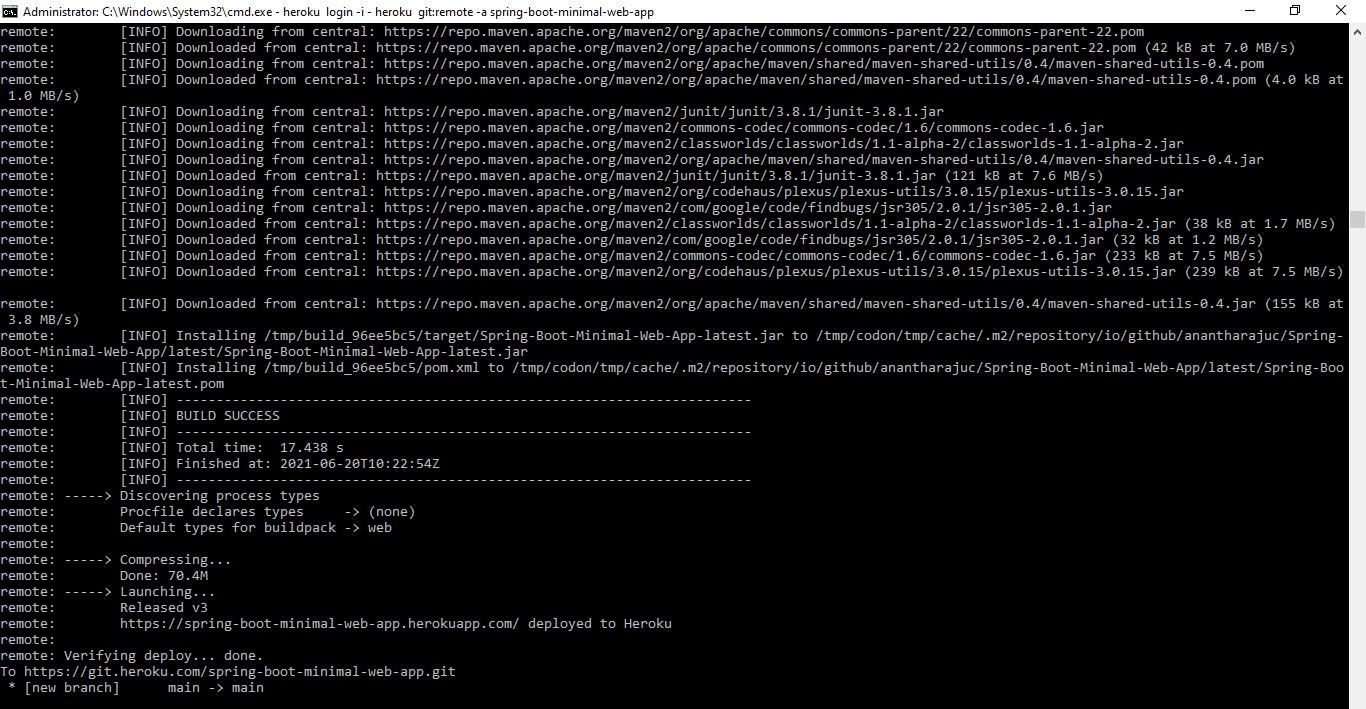
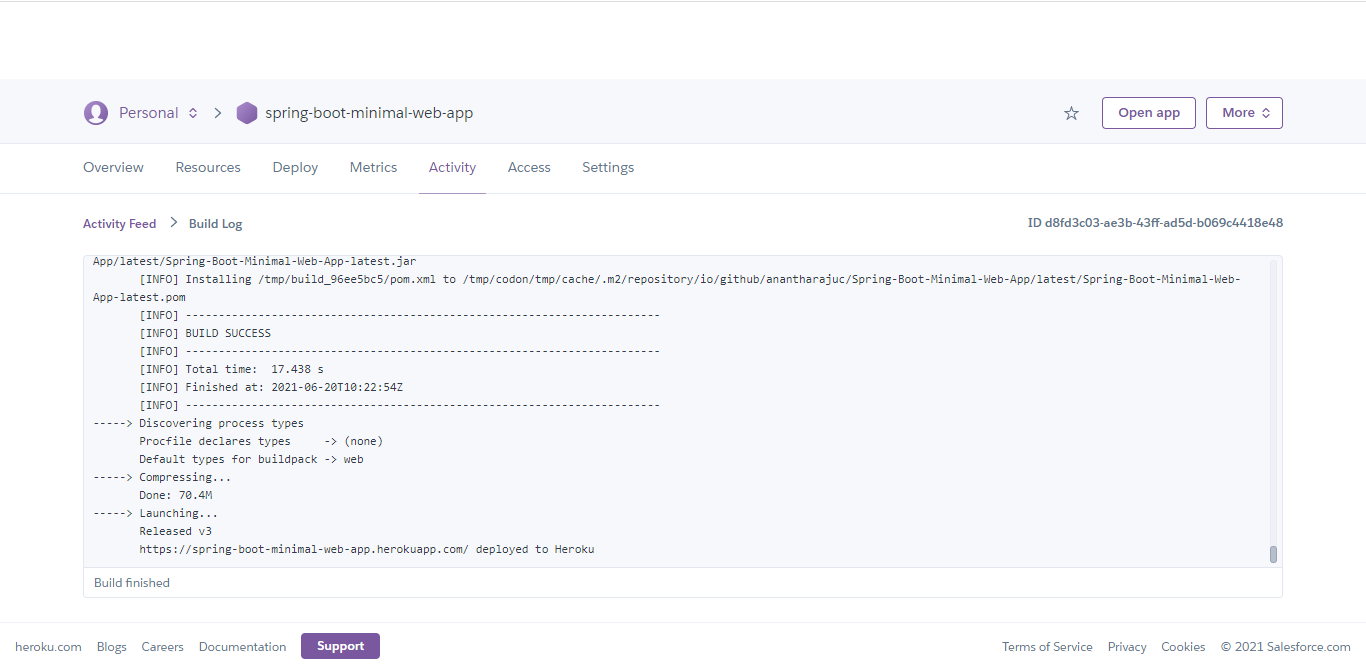
- You can monitor the build log in the Heroku console under the project's Activity tab.
Accessing the deployed application
-
Access the deployed web application from the URL
[APP_NAME].herokuapp.com -
In case of the above mentioned project the URL will be
spring-boot-minimal-web-app.herokuapp.com

Cleanup
If you wish to delete the project:
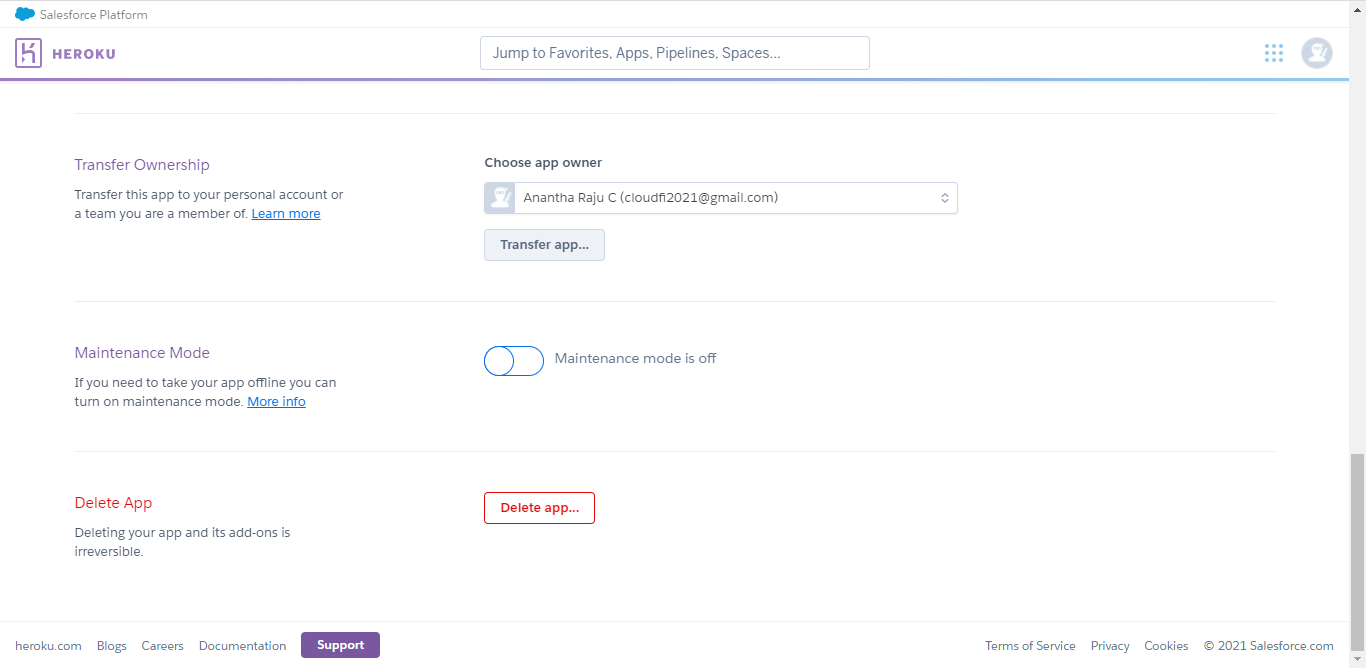
- Navigate to the Settings tab of your Heroku app.
- Scroll to the bottom and click on the Delete button.
Conclusion
Deploying a Spring Boot web application to Heroku is a straightforward process when following these steps. By leveraging the power of Heroku's PaaS, you can focus more on developing your application and less on managing infrastructure. Heroku offers a robust and flexible platform to get your web app up and running quickly.
By following these steps, you should have your Spring Boot web application up and running on Heroku in no time. Happy coding!
