Airbyte
Introduction
Airbyte is a powerful, open-source data integration engine designed to help you seamlessly consolidate your data into data warehouses, lakes, and databases. Whether you're managing data from various sources or need to ensure your data is easily accessible for analysis, Airbyte simplifies the process.
In this blog post, I will demonstrate how to use Airbyte with MySQL installed locally on Ubuntu as the source and a local JSON file as the output.
Minimum Software Requirements
To get started with Airbyte, ensure you have the following software installed:
Running the application
First, ensure Docker is running on your machine. If Docker isn't installed, download and install it from the official Docker website.
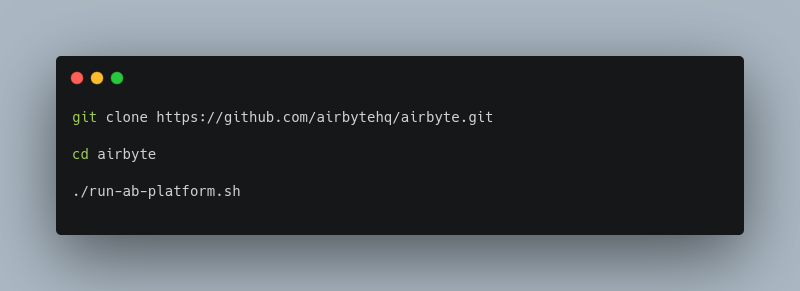
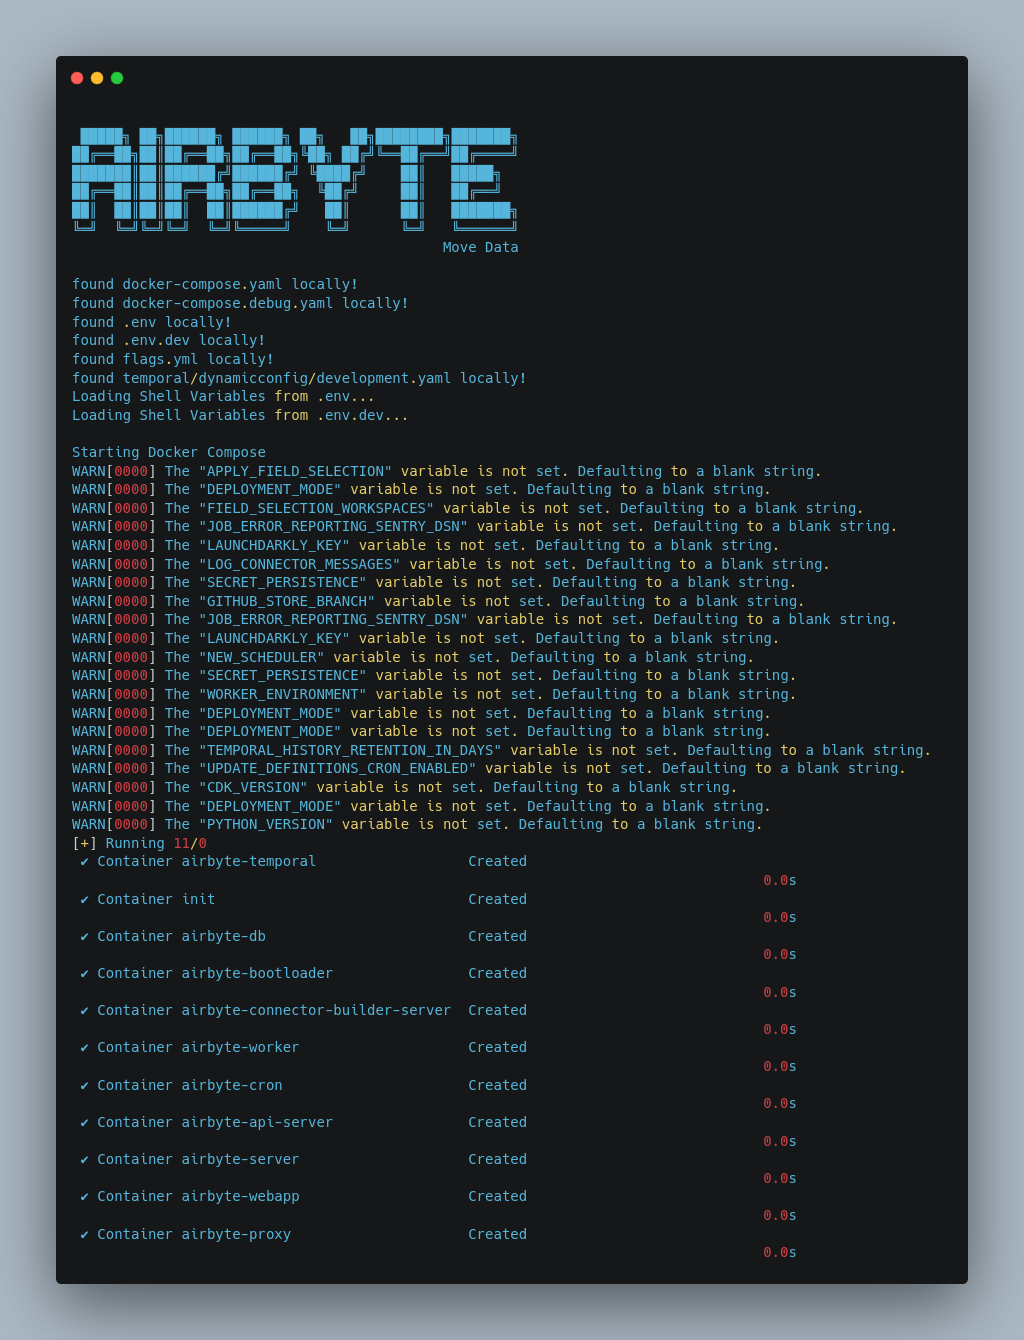
Open a terminal and run the following command's to download and start Airbyte:
Accessing the UI
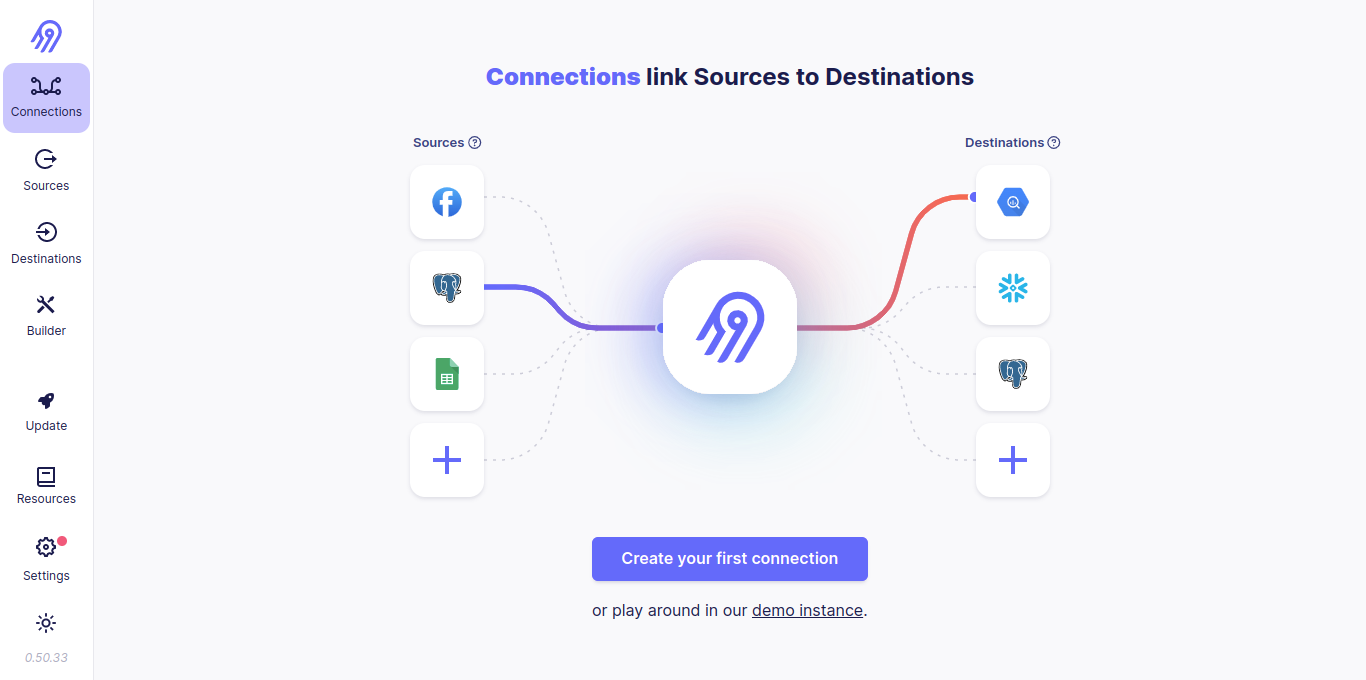
Once Airbyte is up and running, you can access the user interface by navigating to the following URL in your web browser:
Use the following credentials to log in:
username airbyte
password password
note: For security reasons, it's recommended to change these credentials. You can do this by modifying the .env file located in your Airbyte directory.

Source Configuration
After logging in, you'll need to configure your data sources. Airbyte supports a wide variety of data sources, allowing you to integrate data from multiple platforms effortlessly.
1. Adding a Source
- Click on the "Sources" tab in the UI.
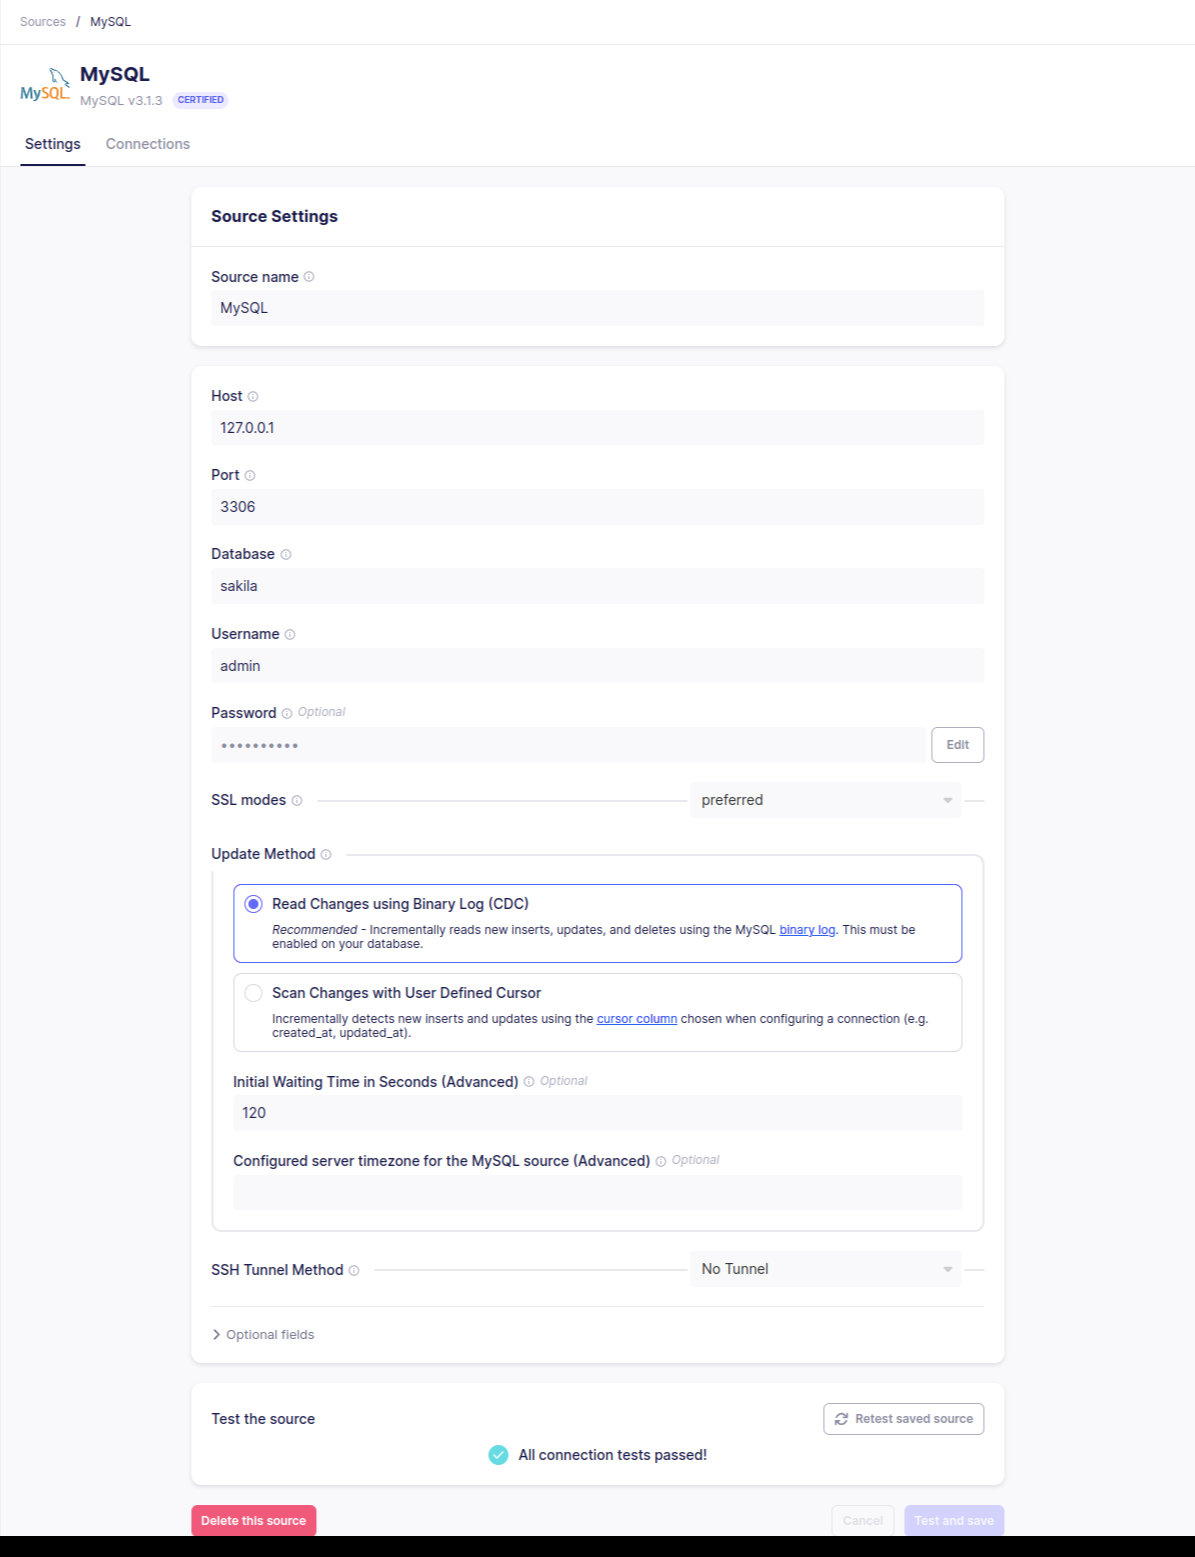
- Select "MySQL" as the type of source you want to add.
- Fill in the required details, such as connection name, host, port, database name, username, and password.
- Test the connection to ensure it's working correctly.
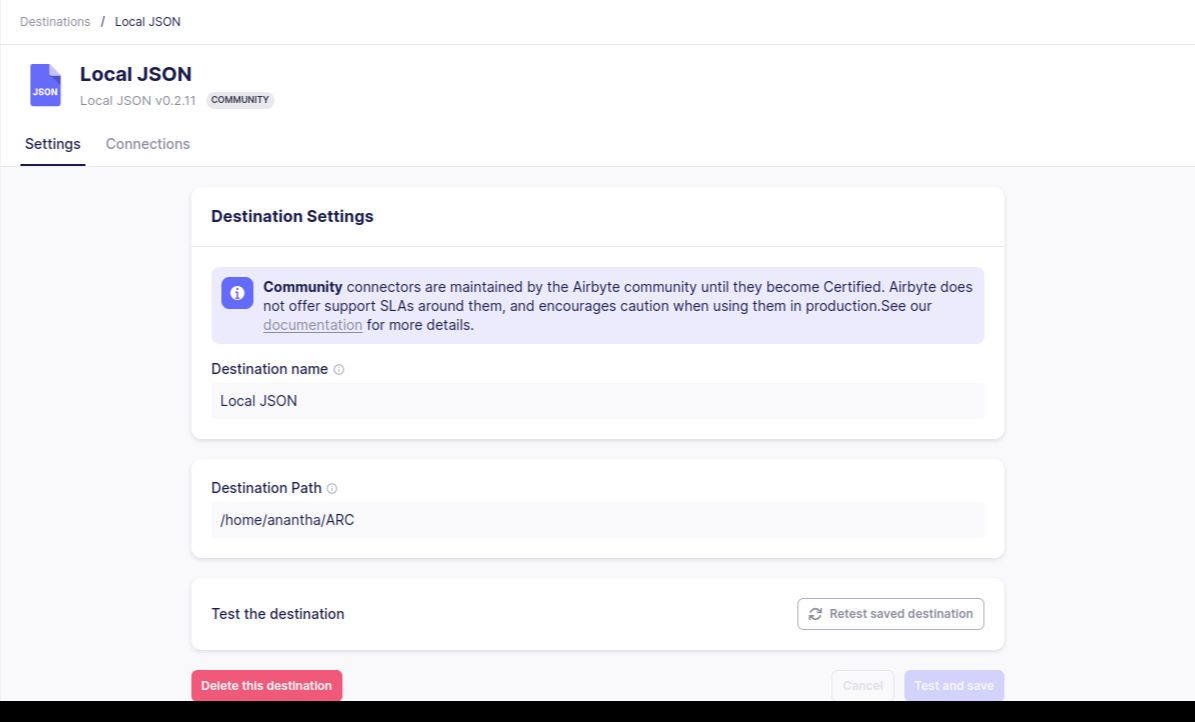
2. Setting Up a Destination
For this example, we'll use a local JSON file as the destination.
- Click on the "Destinations" tab.
- Select "Local JSON" as your desired destination.
- Enter the necessary details, such as the file path where the JSON file will be stored.
3. Creating a Connection
- Once your source and destination are configured, navigate to the "Connections" tab.
- Click "New Connection" and select your source and destination.
- Configure the sync frequency and any other options as needed.

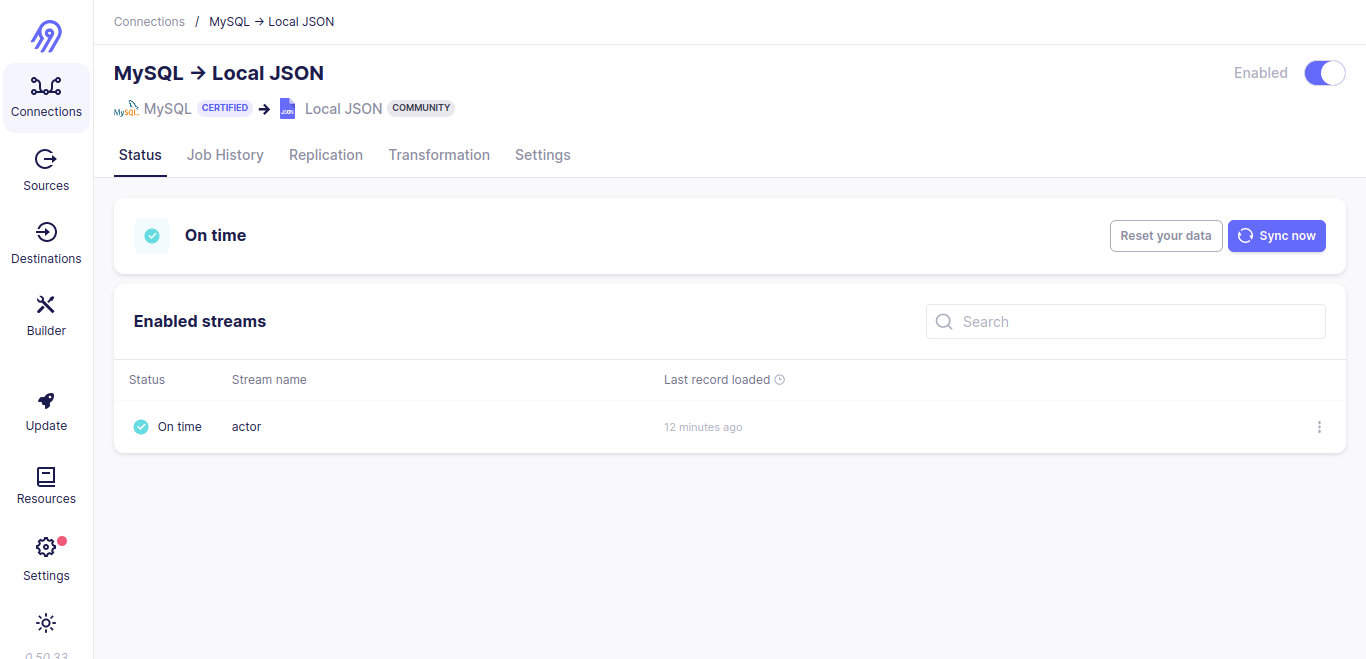
4. Running Your First Sync
- After setting up your connection, you can run your first sync manually by clicking "Sync Now" on your connection page.
- Monitor the progress and check for any errors that may need to be addressed.
Conclusion
Airbyte is an excellent tool for integrating and consolidating your data from various sources. By following this quick start guide, you can set up and run your first data sync, ensuring your data is centralized and ready for analysis. For more advanced configurations and troubleshooting, refer to the official Airbyte documentation.
By leveraging Airbyte's capabilities, you can streamline your data workflows and focus on deriving insights from your data, rather than managing the complexities of data integration.


